Wood Flooring Installation Manual
Flooring installation manual
Ⅰ The preparation for laying
Before laying the floor to ensure a recognized: before the construction, the Laying workers should introduce the laying process to users, must be approved by users, to start construction. If you encounter the following situations shall not construction, but should be with the user to explain clearly, and explain the reason:
1)The ground is not dry (wet), dirty, can not construction;
2)There are termites in the room, can not construction;
3)Cross mixing construction site operation,can not construction;
Ⅱ Installation method
1)floating install:

(1)Before the installation of the indoor environment
The installation environment temperature should be controlled at 10℃, relative humidity is best not more than 80% and not less than 40%, no water seepage, leakage room; ordinary solid wood composite floor is not suitable for the bathroom, sauna room, Restroom and bad environment, the use of public places to install.(2)The ground requirements
●The ground moisture rate less than 20%, otherwise, the ground should be moisture-proof handle, moisture-proof processing mode can adopt waterproof coating is coated or laying plastic film.
●The ground should have sufficient strength, its surface quality shall be in conformity with the relevant provisions of the current national standard and specification.
● Ground flatness should meet the requirements of pavement, with 2m ruler for detecting the ground roughness, depends on the maximum chord feet and the ground should be≤5mm.
●The wall with the ground Yin angle in 200mm should be perpendicular to each other, smooth, concave convex roughness less than 1mm, more than errors shall carry out leveling cement or quick dry, not vertical or not smooth, should be resolved through consultation with the users.
●The ground should be clean.
●The ground should be no crack.
(3)Requirements for installation accessories
The bottom floor mats can prevent moisture damage, and function as a buffer between the ground and floor mats, installation, not between the pad and the pad over lap, interface with the adhesive strip seal;
(4)The installation process
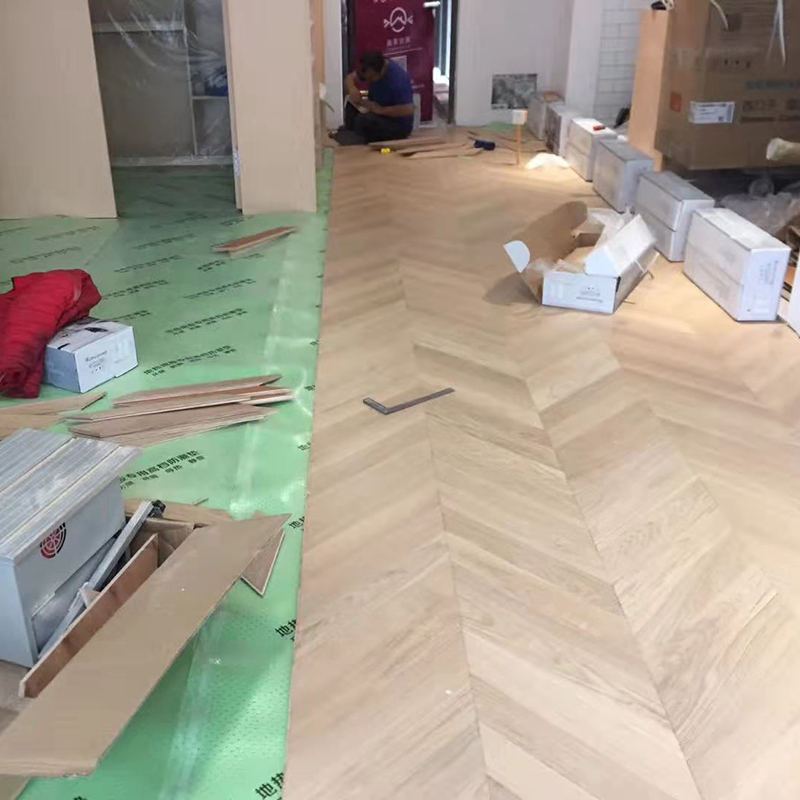
●The first deployment of floor texture and color. Color consistent floor can be placed in the living room, hallway and obvious place, will be slightly different for the overall appearance of coordination in the furniture orbeneath the corner.
●Try to start the installation of the first row of floor from the room entrance, there will be one side facing the wall with expansion tenon block (reserved expansion joints)
●The long side and the ground floor at a 15 degree angle into the slot, then using special tool pad tapping guarantee close on the short side seam (should first knock on the short side, knock long side) when installation should strictly check each piece of floor has not installed in place (especially the short side), don't leave a gap,require tight joints;
●At the door if encounter small floor installation, should first consider the use of waste; using the whole plate cutting, to draw good marks at the back of floor.
●If some places can't lock installation, planed to tongue protruding part,also use glue bonding to enhance the joint strength, when the wall is curved, the column should be according to the contour cutting front floor, if the experience of pipe, cylinder etc., should be appropriate for hole cutting, leave good expansion joint.;
●In the part of the door pocket under the floor need to cut out small strips, try to use a hammer on the installation, don't kick with their feet.
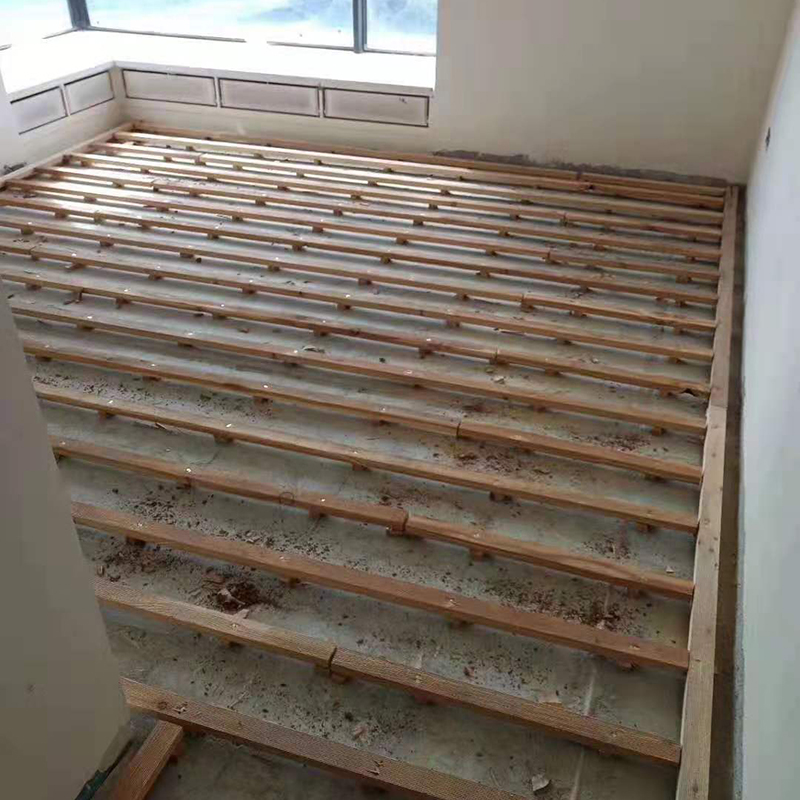
2)Keel install

1.Installation must first make moisture-proof, pest control treatment, put anti insect powder, put a damp proof membrane. Moisture-proof film to above overlapping 500px, close to the wall position should be covered to adapt with the skirting board height.
2.Using keel install method , keel and accessories must be dry, not with the inferior, pollution, damp, perishable, easy to corroded material as the keel and accessories. Specific requirements are as follows:
●Will be leveling the ground first, keels by nail shooting methods will wooden keel fixed on the ground.
●The keel and the wall or other materials are spaced 8-12mm.
●Keel should be carried out after the flatness and firmness to check, if uneven or unstable, can not be laid floor.
3.The plywood (thick splint) laying, plywood thickness above 9mm, plywood with the best anticorrosive paint anti-corrosion treatment. Plywood sawing into 1500px*3000px size; the gap between the plywood and plywood to stay around 20mm, and nailed to the ground.
4.Notice
●The installation of the floor, between the floor and the walls above the slotreserved extension 8mm。
●The installation of the floor to floor nail, with special phase oblique scored, can not use the steam screw.
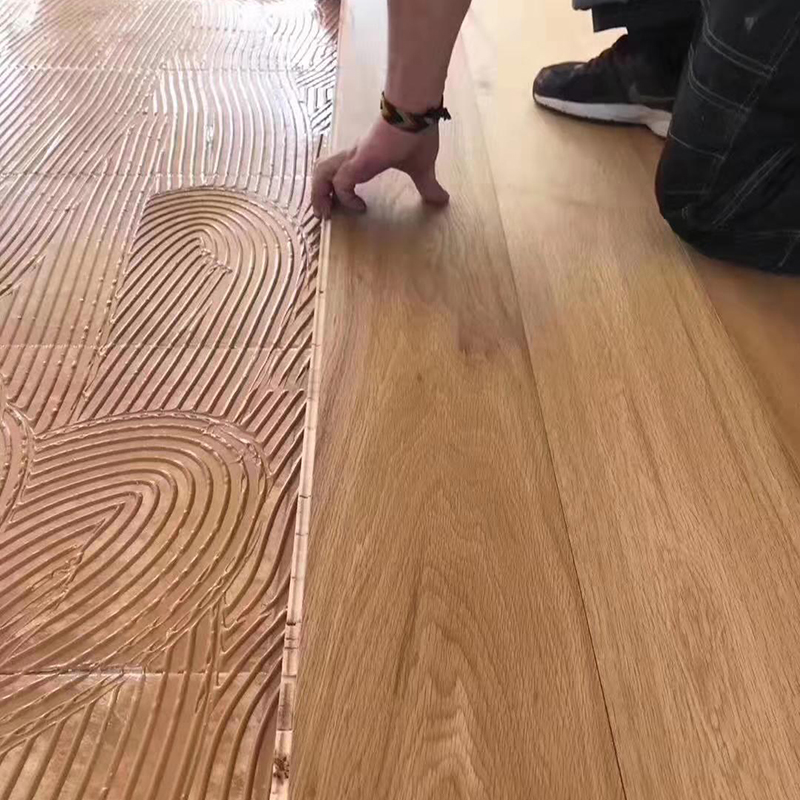
3) Direct adhesive method

Direct adhesive method is paving method will be the floor directly with adhesive to stick on the ground. This installation method can improve the stability of the whole floor decking
Construction method:
(1)Coating
Brushing with roller coating, drying time is generally 1 hours, keep drying before the next process.
(2)Self leveling process
At the leveling cement and water mix proportion: cement: water =4:1. The mixed self leveling cement stir fully until the formation of particle free liquid homogeneous mixture.The self leveling cement mixing after the smooth processing of grass-roots.The leveling of self leveling cement. The end of construction 5 hours can trample ground, after 48 hours of floor paving.
(6)Frictioning
(7)Paste the flooring
Pavement, paste floor and pressing, to ensure that the floor is tightly combined with the base. The floor and the wall between the left 8-12mm reserved joint.
